
My first encounter with stained glass was the windows in church when I was young. While these windows depicted religious scenes I had always been intrigued by the intricacy and beauty of panels as the filtered sunlight played across the glass. I took a short six-week beginners class on the process of designing and making stained glass pieces. I discovered that the process is actually quite simple and the steps and techniques haven’t changed since the art/craft was first developed. I source my glass wherever I can find the features desired for a new project. Some of the glass that I buy comes from the same producer(s) who made glass for Louis B. Tiffany. Some of my glass even comes from old / antique panels that people no longer value.
The sequence of steps for creating any stained glass piece is simple, but requires focused concentration, patience, and attention to detail. The first step is to create a pattern on some type of strong paper - sort of like a paint-by-the-numbers pattern - where each individual piece of the pattern is drawn out and numbered. I use white butcher’s paper for my patterns - it’s strong, resilient, easy to drawn upon, and comes in 100 ft rolls - which I buy at a local restaurant supplier. I laminate each of my patterns to protect them from tearing. Then I select the glass based on colors, textures, patterns that reflect the design.
The next step is to transfer each shape on the pattern to the respective pieces of glass. Once transferred to the glass, the shape is roughly cut out, ground down to pattern contours, and wrapped with a sticky-backed copper foil. The pieces are then laid back on the pattern. With the glass cut, foiled, and laid out on the pattern, a liquid soldering flux is applied to the foiled edges of each glass piece and soldered in place. Once pieces on one side are soldered, the panel is turned over and other side fluxed and soldered.
The panel is now safe to handle. A patina can be applied to the silvered solder lines, panel placed in a frame, installed, and enjoyed.
Click on the glassWorks project links on the right side menu to see examples of my work.
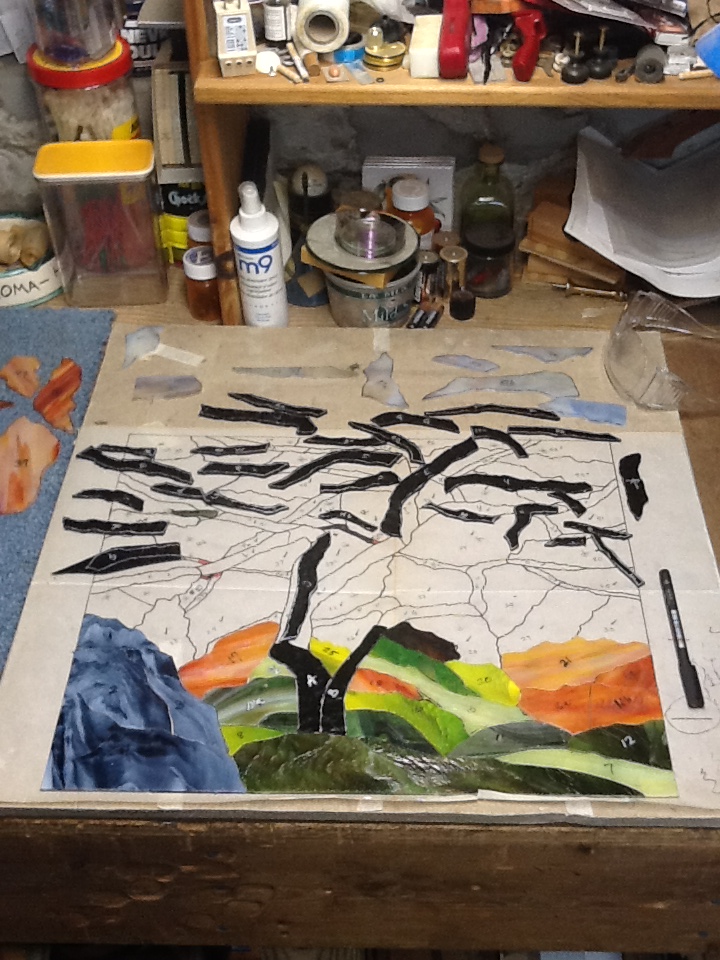
The photos below show my working area. The photo on the left shows my cutting table in the foreground and assembly table in the background. The Aspens panel can be seen laid out assembly table ready for soldering. The right photo is the simple glass grinder that is used to soften the sharp edges and put final shapes on the glass.
 Cutting board with tools
 Glass grinding station
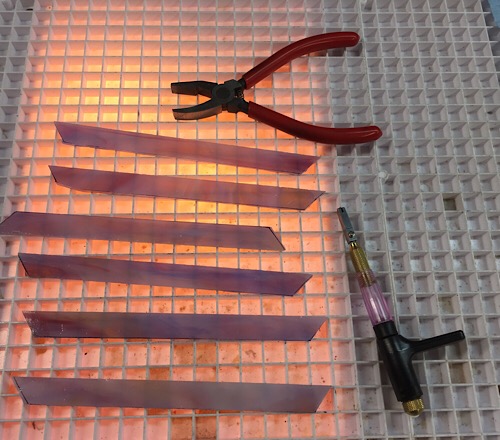 Boarder pieces for Yard Light